How to use an AI room designer for your living room
Your living room is usually the largest readable space in a home, which makes it ideal for AI redesign experiments. The goal is to compare style directions on the same photograph so you can decide what actually fits your lighting, seating layout, and storage needs.
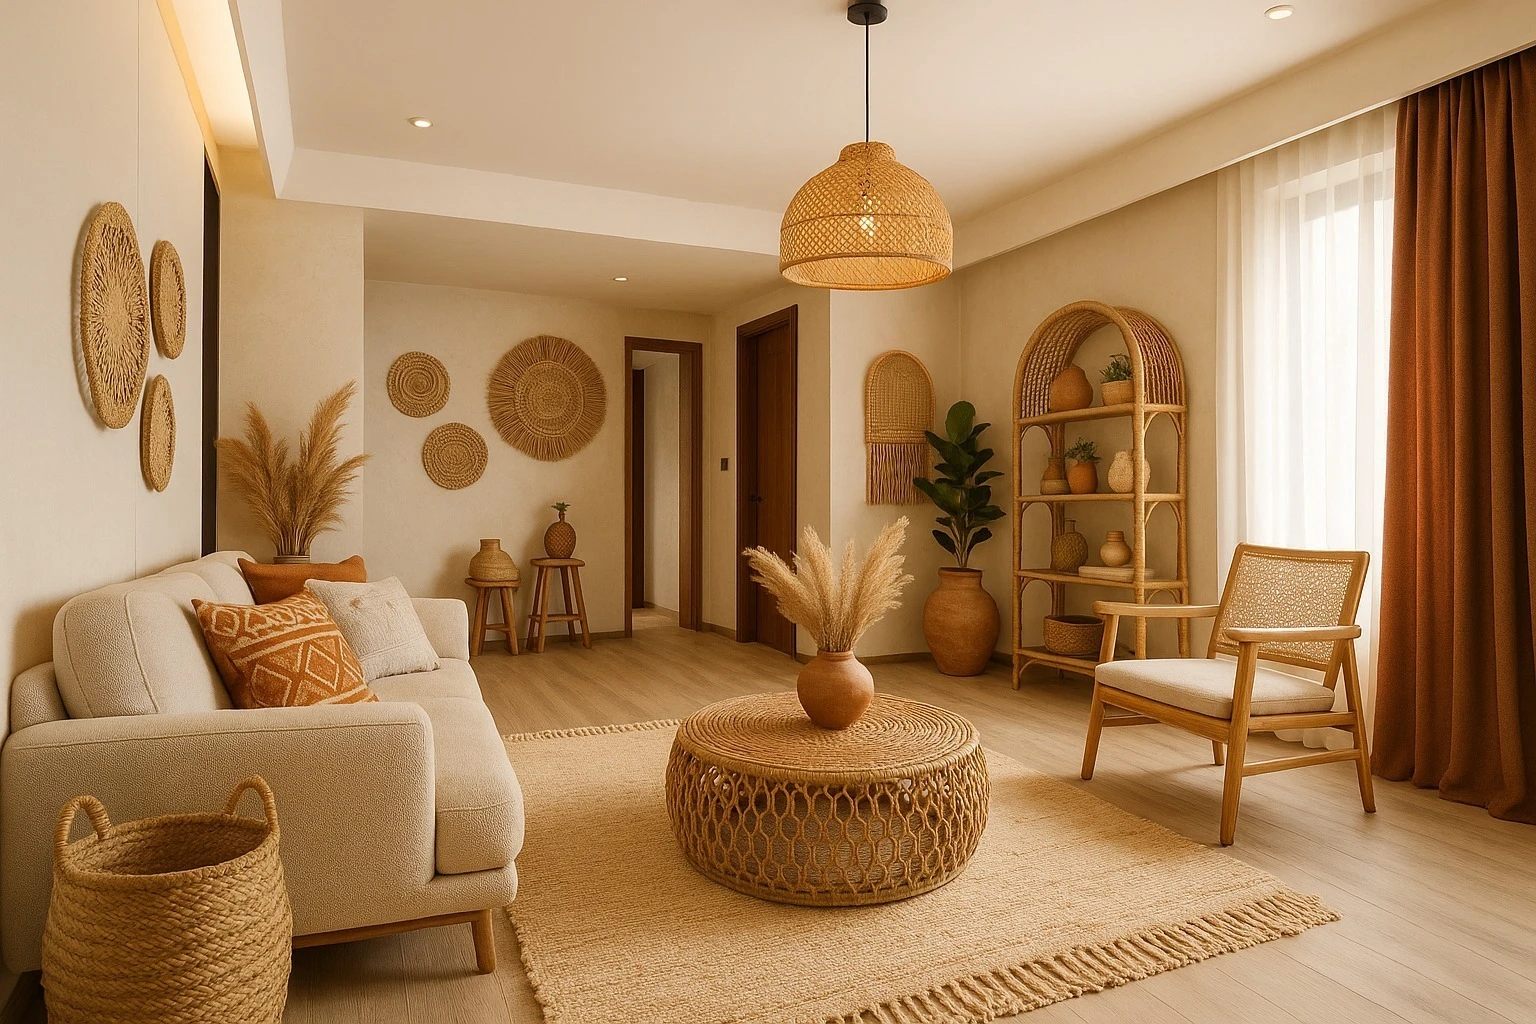
Capture a living room photo that preserves layout
Step back until floor, walls, and ceiling line are visible. Turn on lights to reduce muddy shadows, and try to keep vertical lines reasonably straight. A clear base image helps the model respect your room geometry while changing finishes and furniture style.
Run fair style comparisons
Pick one photo, then test Modern, Scandinavian, Coastal, or Industrial in sequence. When each render uses the same input, you learn which palette and furnishing density feel right—not just which single render looked lucky. Start with the AI room designer overview if you are new to the workflow, then pair this article with the AI interior design basics guide for foundational tips.
Where to go next on MyRoomsAI
Browse the living room gallery, read living room AI design guidance, then open the AI room decoration tool with your own photo. If you are refreshing a bedroom too, see AI bedroom design ideas.
Upload your living room and iterate in minutes. Start from the MyRoomsAI design tool or create an account to save projects.